
A product development process varies from project to project and from IT company to IT company. Goals, product features, and a team are the components that impact the process. And the team always includes a product designer who comes up with the best visual solutions for each task.
So here’s a question: how do we map the product development out? Should we plan an IT workflow at all? And what do product designers do in this process? The following post will introduce you to the stages of product development and describe what a designer's role is and with whom a designer communicates.
New product development process
How to plan
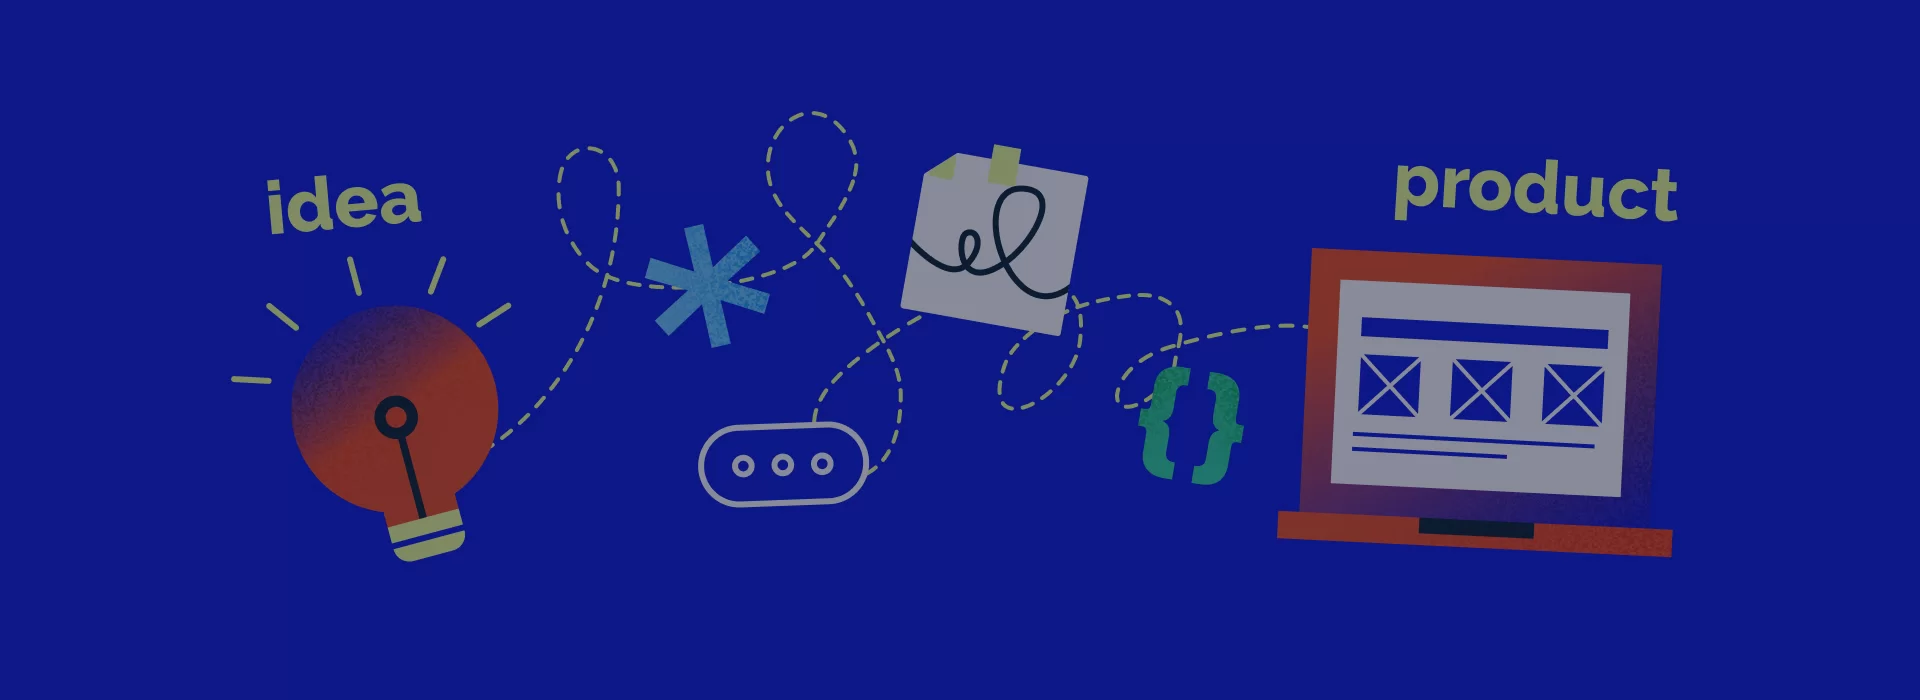
Every day we use different web applications, but do we realize how much effort goes into their development? When I think about a successful product creation cycle, the first thing that comes to my mind is the following picture:

The figure is quite simple. We have an idea, then the Big Bang happens, and we have a product ready for release. How to get out of chaos and develop a unique product that works? The project implementation will succeed only if we have a consistent and elaborated workflow.
The truth is, there’s no way to “plan a product development workflow properly”. Each project brings up different issues and tasks, and these are the guys that shape a working plan. Here's how we at ADCI Solutions organize a new product development process:

It’s not that scary. Our project will go through 5 stages and step into the bright future.
Project team members
- Organizational development/marketing — Curator of the project, idea generator, content manager
- Designer — Responsible for UX/UI
- Developer — Responsible for coding
There’s always a client with whom a team communicates. It’s either an external client or an internal one if the team is busy with the company’s own product. It’s the client who approves the team’s work.
Stages of product development
Stage 1. Idea & Structure
The first stage of the new product development process is a project idea. A team’s goal here is to elaborate on the realization.
First, the team collects project data: goals, project description, methods of realization, for example, what technologies will be used. In our article Why Write User Stories, you’ll find a guide on writing project requirements and why it’s essential to give your client feedback on specifications. When it’s clear what the product should look like, the team moves on to the concept.
What does product designer do? A designer’s involvement at this stage is essential. Why? Taking part in creating the product concept, the designer understands the product’s specifics that he or she will be working on later. Even at this point, the designer can start thinking about possible solutions, present his / her ideas to the team, and enhance the process.
Sketching is what we advise doing while brainstorming. A rough sketch or a structure of the product forms the basis to work with later on.
Next, we will learn why it’s a bad practice to hurry and start drawing the interfaces with all the fancy buttons right away.
RELATED: Web development methodologies
Stage 2. Wireframe
A wireframe is a low-fidelity design.

Being given a task, a designer wants to utilize all his / her skills and create a mind-blowing design at once. This is a mistake that all junior web designers make. Focusing on the product's essential elements first can save some time and lead us to creating a truly usable product. It’s the wireframe that sorts this issue out. The designer focuses on the page goal and meaning in the context of the website and comes up with a visual scenario. At this stage, the designer decides how a user will interact with each block and element.
A good wireframe is the basis for a web page and future designs. This is not a dull draft. It is supposed to be a web page prototype featuring all the crucial elements that the released version of the product should have. Again, the things mentioned above significantly simplify the design process at stage 3.
Stage 3. Design
When we have a product structure approved and all the important elements mapped out, a designer can carry on with drawing buttons and playing with colors. Yey!
This is a general list of what a designer should be able to do to take part in any project.
- Composition
- Typography
- Pictograms
- Illustrations
- Motion Design
- Prototyping
Frankly speaking, the set depends on project goals and specifics, but still, those skills do matter a lot. For instance, one project may require only interface creation, another project may require unique illustrations or a photoshoot organization, or even editing a video. You should also keep in mind that animation and interactive prototypes are trendy now; moreover, they help to test the product.
RELATED: More 2024 web design trends here
Stage 4. Development
When we enter the development stage, it’s a designer who moderates front-end development: everything must be pixel-perfect! The designer makes sure that the product becomes what it’s meant to be.
We advise you to read the article on How to bring together design and front end to learn what content a designer should prepare to hand the project over to developers.
Bear in mind that both designers and developers work on the same team and ought to communicate with each other. The parties can and should make each other’s lives easier: the designer should know what picture format is suitable for handing in the digital assets to developers and master the art of communication and negotiation. Only having agreed on everything, the designer can be sure that the project will be implemented thoroughly.
RELATED: What information to prepare for the development team
Stage 5. Release
The final stage in the new product development process is the release. As soon as a project is complete, we test our product and try to live happily ever after. At this particular stage, the product faces the real world. That’s the moment when we find out whether the product is profitable and/or reaches the goals set.
What is happening with the project team and product after the launch? Team members carry on with support and maintenance, fixing bugs, project communications, and efficiency analysis.

Post-go-live
Well, now our product works properly and the team keeps an eye on it. Marketers and designers hold surveys on performance and efficiency (Google Analytics is a great tool for that). Analytics lets us explore the product’s perception, what solutions worked out well and what didn’t, what features should be added, and what should be neglected.
A bad experience can throw a team back significantly. If the experience was successful, the team may keep on working on the next product’s version.
Conclusion
Now you’ve got acquainted with a possible project workflow and what a product designer’s role is at each stage. Here are the product development stages every project goes through:
A rough plan that would fit any project
- Idea creation, setting goals
- Elaborating on the concept and a project structure
- Wireframe creation, use cases/usage scenarios creation
- Design
- Development
- Launch
I’d love to note one more time: there’s no universal guide to building a product development workflow. All the stages can consist of different processes depending on the project goals. But following and covering the stages above guarantees that the team will achieve its goals.